Collecting rainwater from your roof is a great way to divert water from hardscaping (houses, driveways, and roads) to use in your landscaping and allow the water to return to the natural water cycle instead of running into storm drains and being treated (or not, depending on where you live) as wastewater. Juan Rapido's friend had two blue barrels hanging out unused and we jumped on the opportunity to grab them and set up our first water catchment system. It's kind of amazing how much water you can collect- Simple Rainwater Harvesting Formula - For every 1” of rain and 1,000 square feet of impermeable surface (roof, driveway, etc), about 620 gallons are generated. Meaning, you can capture about .62 gallons per sq ft. There's plenty of places to read more- here's one.
From past conferences, I knew about a company called Blue Barrel Systems. Reading over their website, I learned that plastic 55-gallon drums that are blue are designated food-grade and only hold food-like items (not chemicals). They coordinate with local companies that have them to sell to you and Blue Barrel sends you a kit containing most (but not all, as we figured out) of the parts you need to set it up. There were a few hiccups around actually reading the directions - so dedicate some time to read them before you start - but the barrels are full and ready to use!
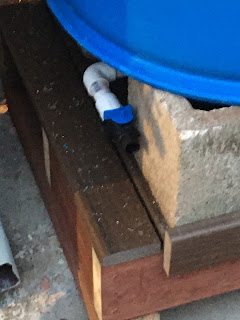
I ordered a 2-barrel system that arrived the next day with on-off valves, a faucet, connectors, and a drainpipe diverter plus glue, pipe tape, and vents. We needed some specific tools that Dad had or you can order with your barrel system, a way to level the barrels (Eric took over building a mini-deck for the barrels on our sloped driveway), 2 concrete blocks per barrel (thanks to the previous homeowners for leaving a bunch behind the garage), and 2.5' of pipe per barrel to make the connections. Buy it in one large piece, though, as you'll need to make many small cuts for all of the connections. They also sell barrel add-on kits if you love your system and want more capacity.
Here's our process: Eric built a deck for the barrels. *Lesson learned: leave enough room for the downspout diverter to reach the side of the rain barrel. Ours is too close to the downspout.


